Sparta Coding Club/React 기초반, 심화반 [항해 99]
스파르타 코딩클럽 React 리액트 심화반 2주차 정리2_파이어베이스를 이용한 계정관리
김쨔뿌
2021. 10. 4. 13:51
Firebase Authentication 사용하는 법
프로젝트에 파이어베이스 패키지 설치
yarn add firebase
- 파이어베이스 콘솔 > 프로젝트 선택 or 생성 > 좌측 메뉴에서 Authentication 클릭 > 시작하기 클릭

- 원하는 로그인 방법 선택
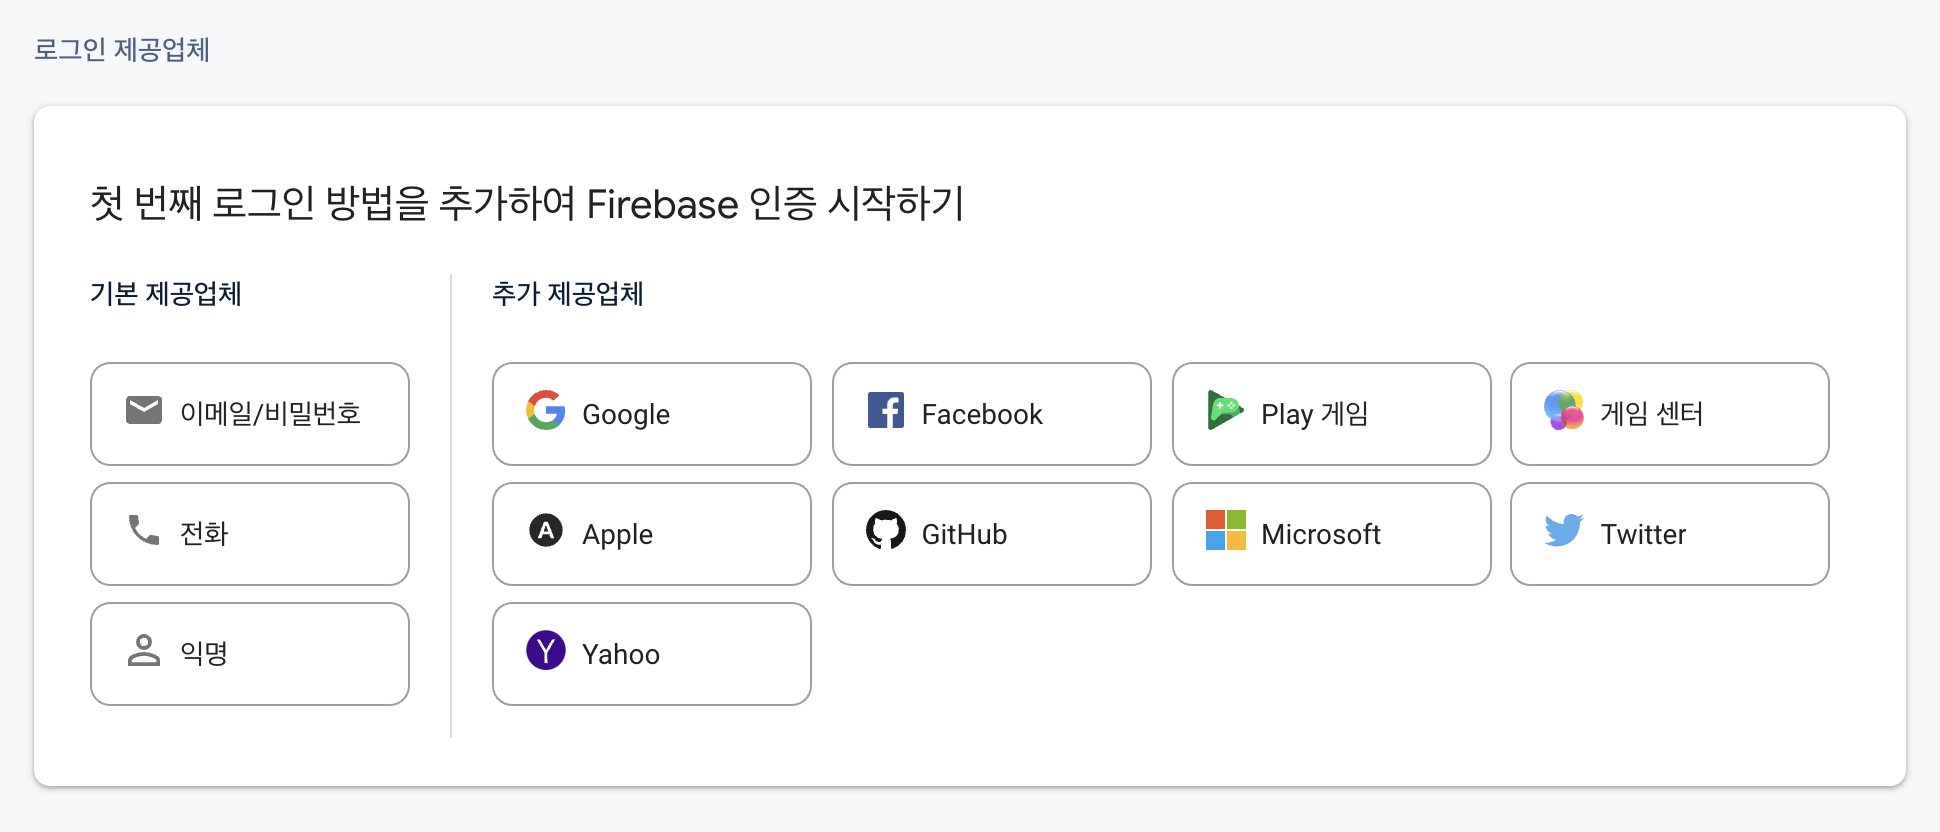
- 문서 보고 필요한 코드 가져가기
https://firebase.google.com/docs/auth/web/start?authuser=0
웹사이트에서 Firebase 인증 시작하기
Google은 흑인 공동체를 위한 인종적 평등을 추구하기 위해 노력하고 있습니다. 자세히 알아보기 의견 보내기 웹사이트에서 Firebase 인증 시작하기 Firebase 인증을 사용하면 사용자가 이메일 주소
firebase.google.com
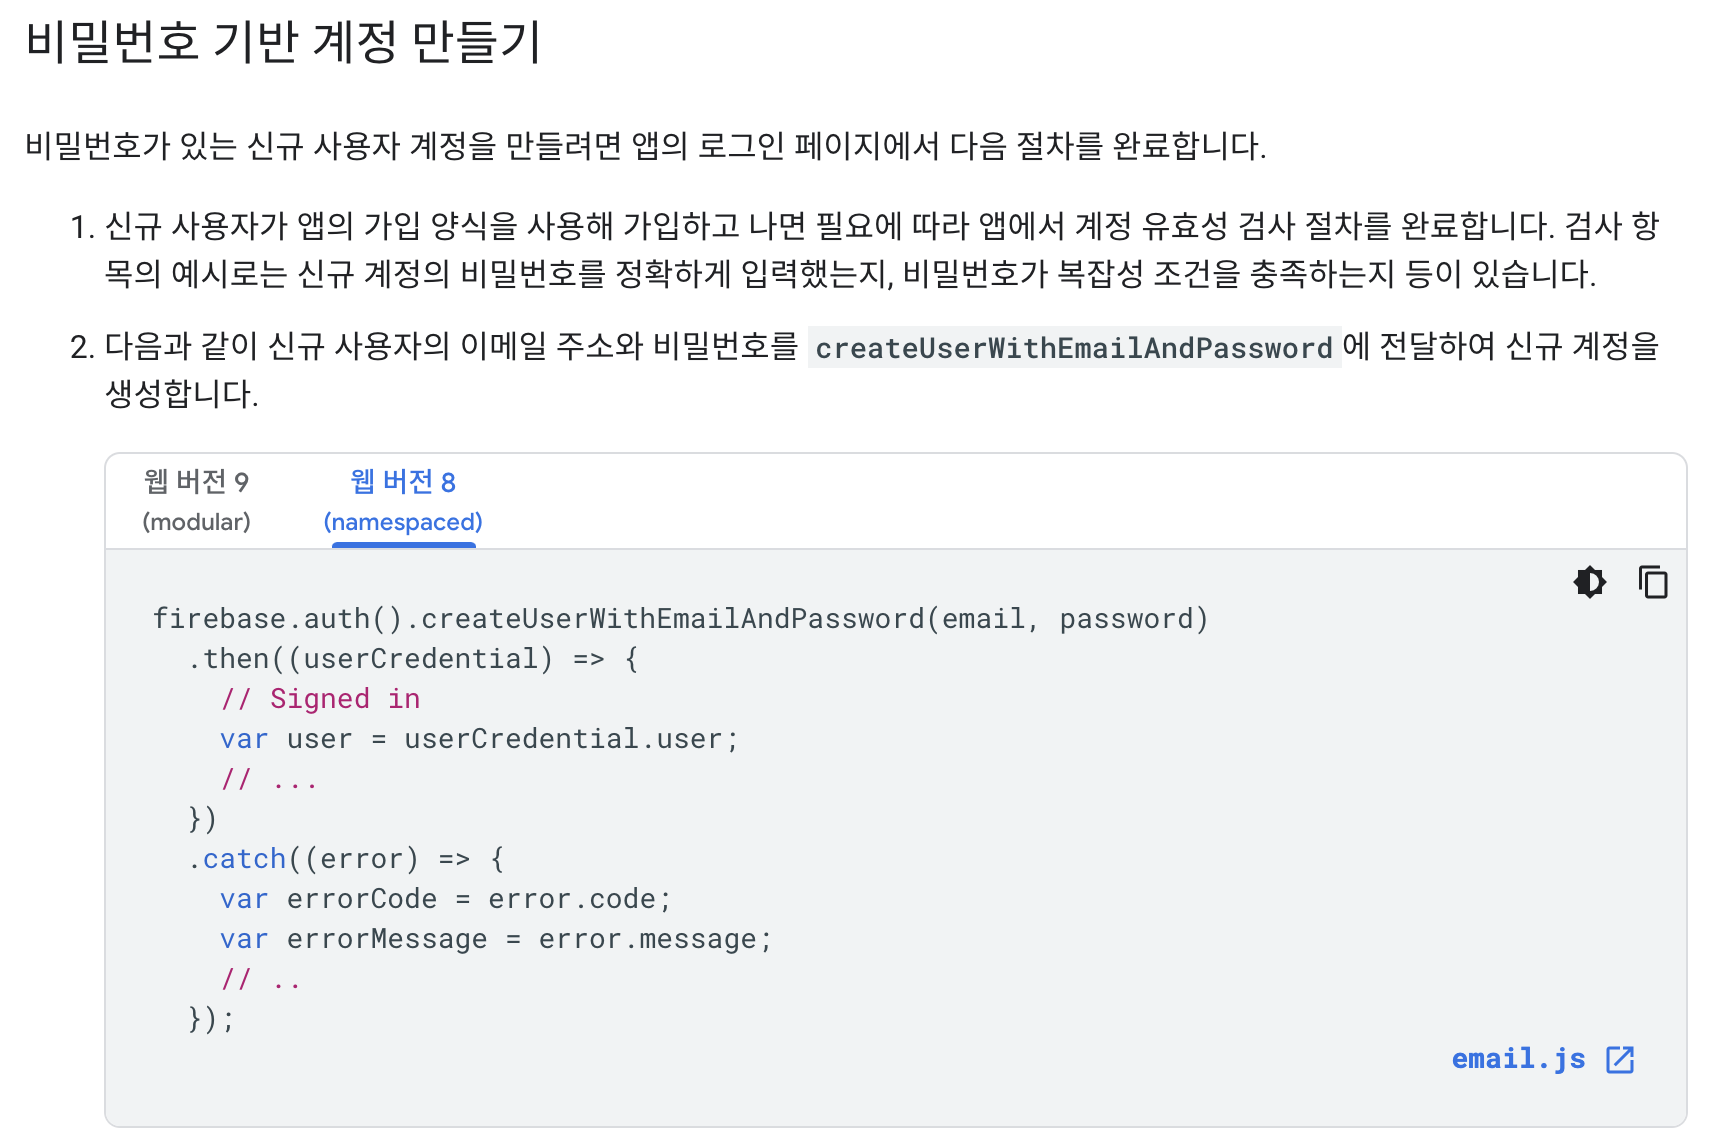
문서를 보면 비밀번호 기반 계정만들기 등 여러 코드를 제공하는데
리액트에서 리덕스로 이를 사용할때 모듈 안에서 미들웨어로 작성해야한다.
(그래야 로그인된 상태를 저장하거나 로그아웃시 상태가 변경된걸 바로 반영할 수 있음.)
모듈에 파이어베이스 임포트 (혹은 firebase.js파일을 만들고 firebase.auth()를 축약해서 가져와 사용해도 된다.
import 'firebase/auth';
import firebase from 'firebase/app';
회원가입기능 만들기

모듈
const signupFB = (id, pw, user_name) => {
return function (dispatch, getState, {history}) {
firebase.auth()
.createUserWithEmailAndPassword(id, pw)
.then((userCredential) => {
firebase.auth()
.currentUser
.updateProfile({displayName: user_name})
.then(() => {
dispatch(setUser({
user_name: user_name,
id: id,
user_profile: '',
uid:userCredential.user.uid
}));
history.push('/');
})
.catch((error) => {
console.log(error);
});
})
.catch((error) => {
var errorCode = error.code;
var errorMessage = error.message;
console.log(errorCode, errorMessage);
});
}
};
회원가입창 컴포넌트
import React from "react";
import { useDispatch } from "react-redux";
import { actionCreators as userActions} from "../redux/modules/user";
const Signup =()=>{
const dispatch = useDispatch();
const [id, setId] = React.useState('');
const [pw, setPw] = React.useState('');
const [user_name, setName] = React.useState('');
const signup = () => {
//비밀번호 다르면 안넘어가게!
if (pw !== pw_check){
return;
}
//인풋창 공란이면 안넘어가게!
if (id === "" || pw === "" || user_name === "" | pw_check === ""){
return;
}
dispatch(userActions.signupFB(id, pw, user_name));
}
return (
<React.Fragment>
<input onChange={(e)=>{setId(e.target.value)}}/>
<input onChange={(e)=>{setPw(e.target.value)}}/>
<input onChange={(e)=>{setName(e.target.value)}}/>
<button onClick={()=>{signup()}}>회원가입하기 </button>
</React.Fragment>
);
}
export default Signup;
로그인
모듈
const loginFB = (id, pw) => {
return function (dispatch, getState, {history}) {
firebase.auth()
.setPersistence(firebase.auth.Auth.Persistence.SESSION)
.then(() => {
return firebase.auth()
.signInWithEmailAndPassword(id, pw)
.then((userCredential) => {
dispatch(
setUser({
user_name: userCredential.user.displayName,
id: id,
user_profile: '',
uid:userCredential.user.uid
})
);
history.push('/');
})
.catch((error) => {
var errorCode = error.code;
var errorMessage = error.message;
console.log(errorCode, errorMessage);
});
})
}
}
로그인 페이지 컴포넌트
import React from "react";
import {useDispatch} from "react-redux";
import {actionCreators as userActions} from "../redux/modules/user";
const Login =()=>{
const dispatch = useDispatch();
const [id, setId] = React.useState('');
const [pw, setPw] = React.useState('');
const login = () => {
if(id === "" || pw === ""){
window.alert("아이디 혹은 비밀번호가 공란입니다. 입력해주세요");
return;
}
dispatch(userActions.loginFB(id, pw));
}
return (
<React.Fragment>
<input placeholder="로그인을 입력해주세요" onChange={(e)=>{setId(e.target.value)}}/>
<input placeholder="비밀번호를 입력해주세요" onChange={(e)=>{setPw(e.target.value)}} type="password"/>
<button onClick={()=>{login()}}/>
</React.Fragment>
)
}
export default Login;
...이런 식으로 하면..된다.
2주차 정리 끝.